Explore our products and upgrade your drive

FREE Shipping for all orders over $60
SmartAdditions products are one-of-a-kind — and that means setup might look a little different than what you're used to.
Whether you're installing The ADDVISOR Plus, Shade, or Wings for Two-Direction Sun Protection™, these step-by-step instructions will walk you through everything you need to know. Every model mounts on the same windshield rail, so start there.
Follow the guide for your product below and enjoy a smarter, more comfortable drive.


1. Clean with alcohol pad
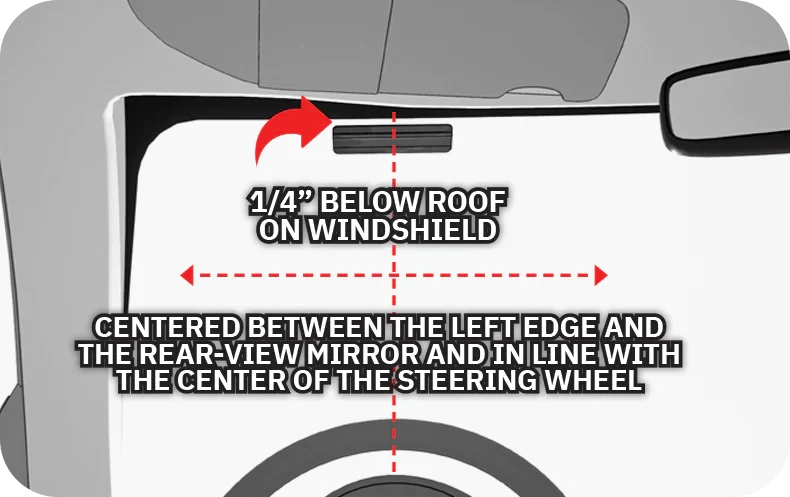
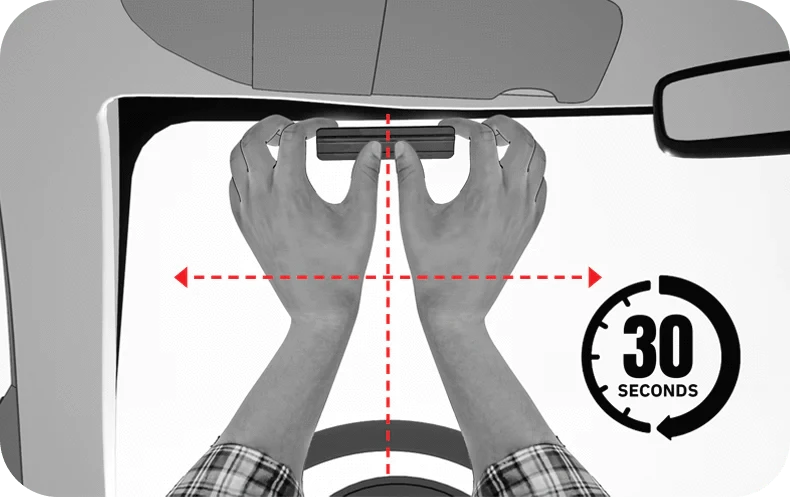
2. Mounting location on windshield
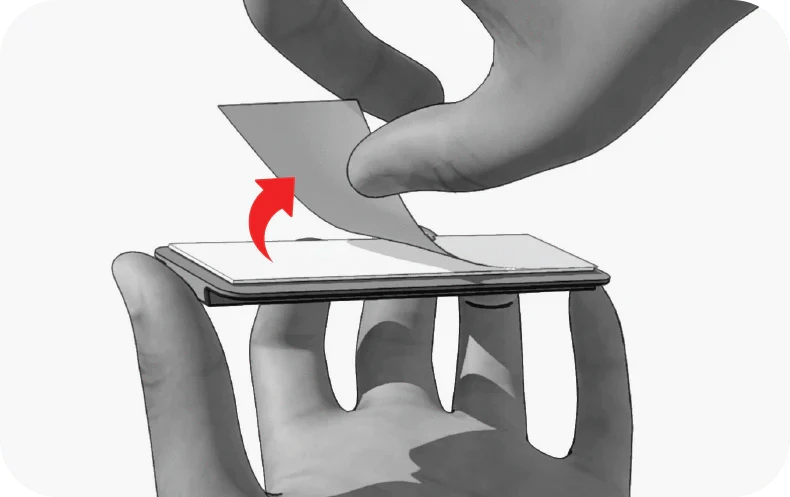
3. Peel rail backing
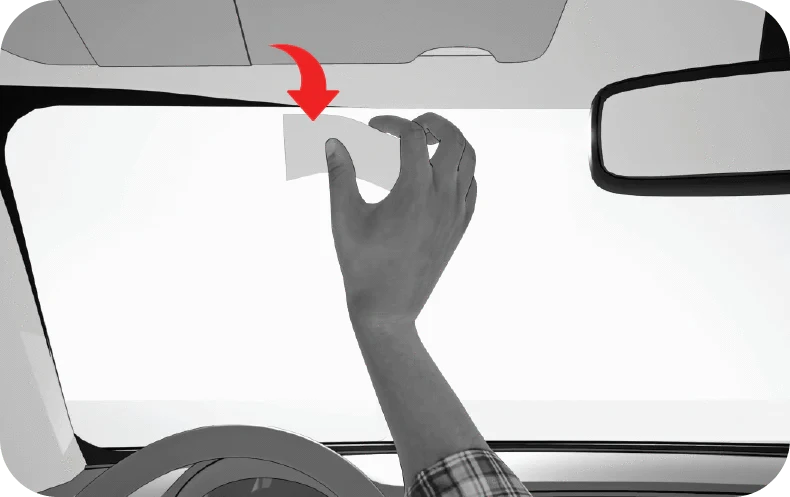
4. Position as shown in (2)
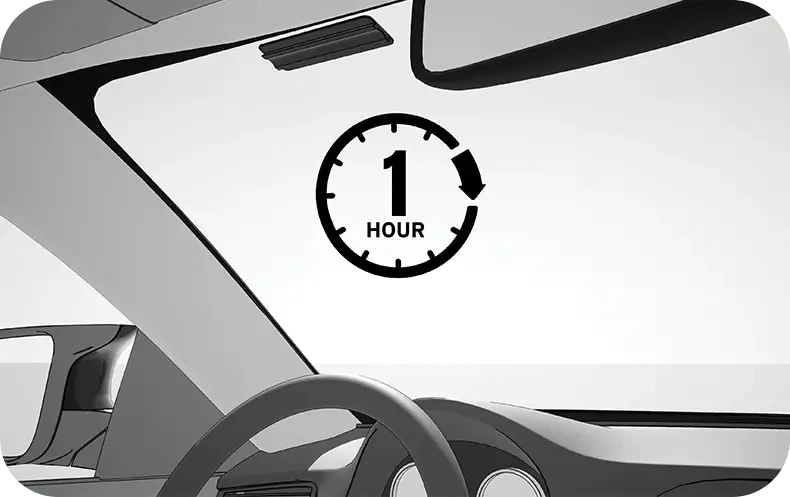
5. Let it set at LEAST 1 hour
Positions most like the car visor
1. ADDVISOR facing this way
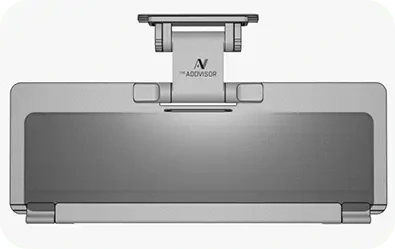
2. Twist both cam locks open
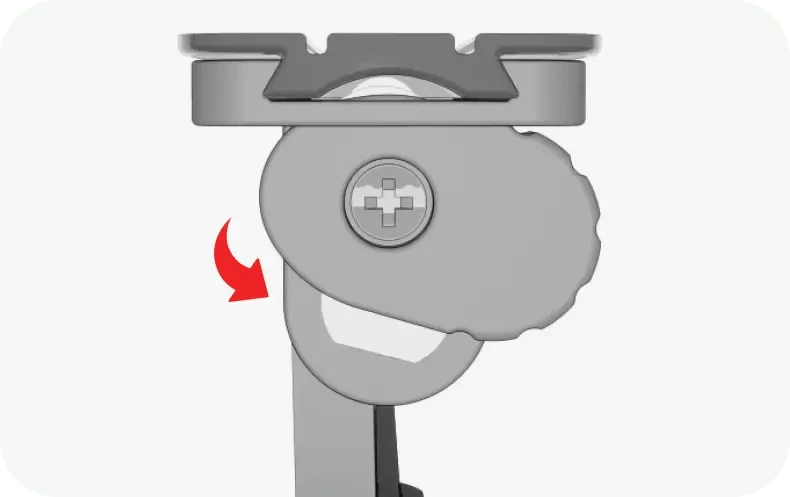
3. Slide onto rail
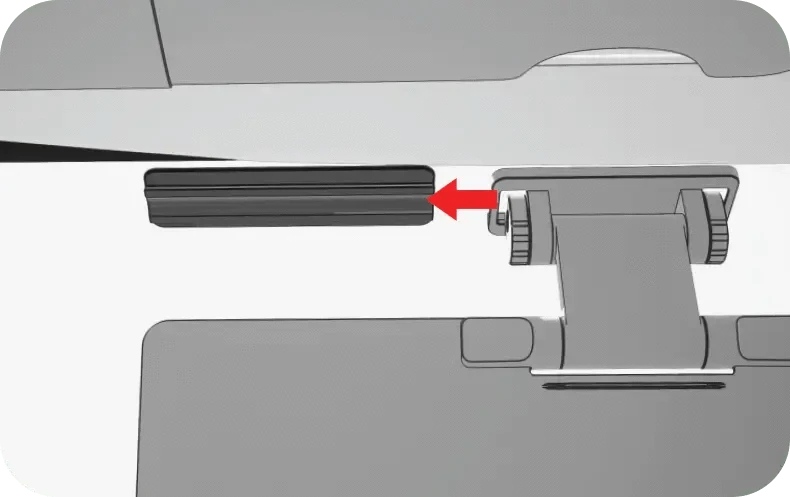
4. Twist both cam locks closed
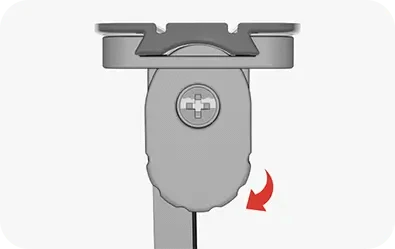
5. Stowed position

The ADDVISOR should be stowed when the vehicle is parked.
1. Fold to visor position
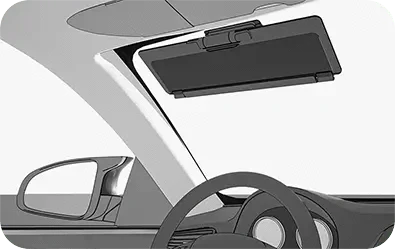
2. Hinge fold detail (see previous image)
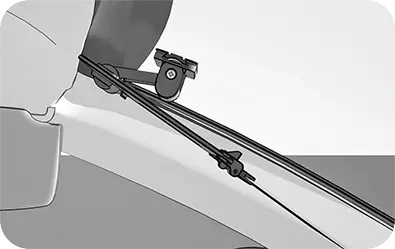
3. Move car visor to the side for 2DSP
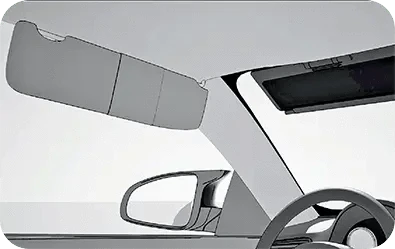
4. Flip TintedVISOR™ down for low sun
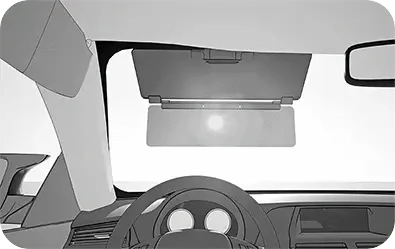
The unique 'Dual-Hinge' let's you put The ADDVISOR high, low, or virtually anywhere in between. You keep the road in view but the sun glare out for a better drive!
The Tinted Visor ONLY folds flat toward the rectangular indent on the Main Visor. Forcing the TintedVISOR™ to fold the wrong direction will irreparably break the hinges.
Good for people who wear prescription glasses
1. ADDVISOR facing this way
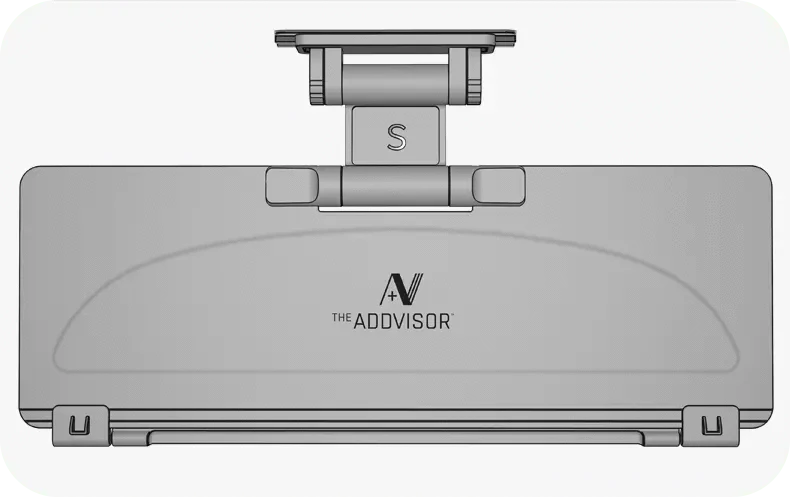
2. Twist both cam locks open
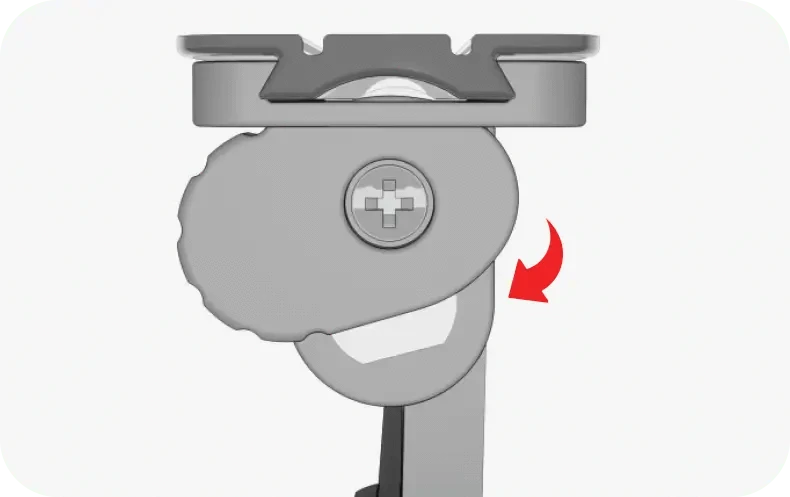
3. Slide onto rail
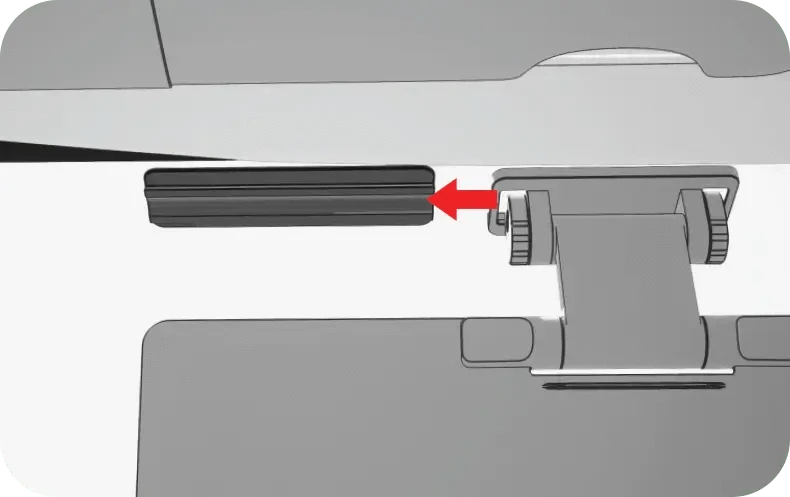
4. Twist both cam locks closed
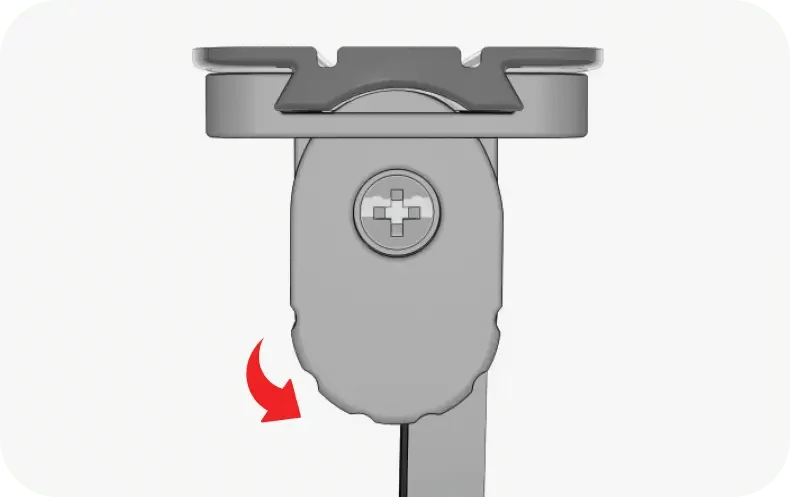
5. Stowed position
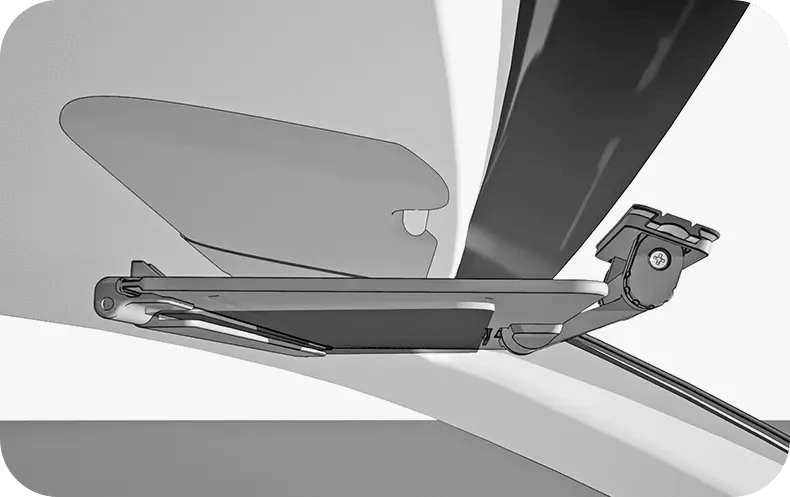
The ADDVISOR should be stowed when the vehicle is parked.
1. Flip down sunglasses
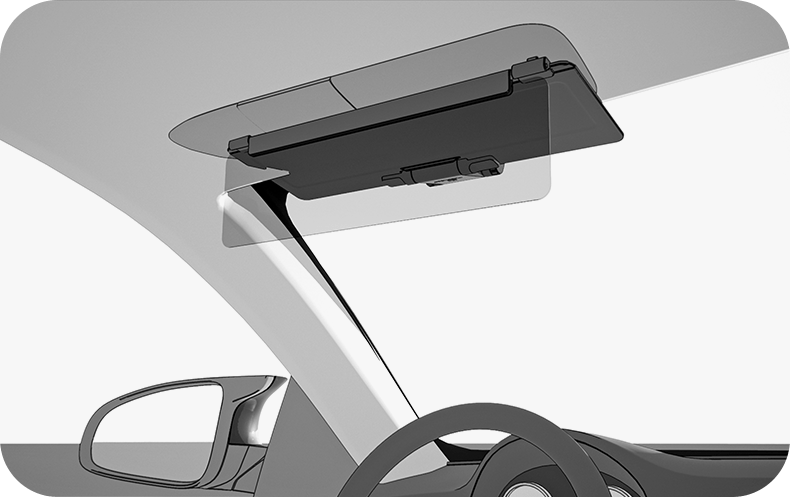
2. Move car visor to the side for 2DSP
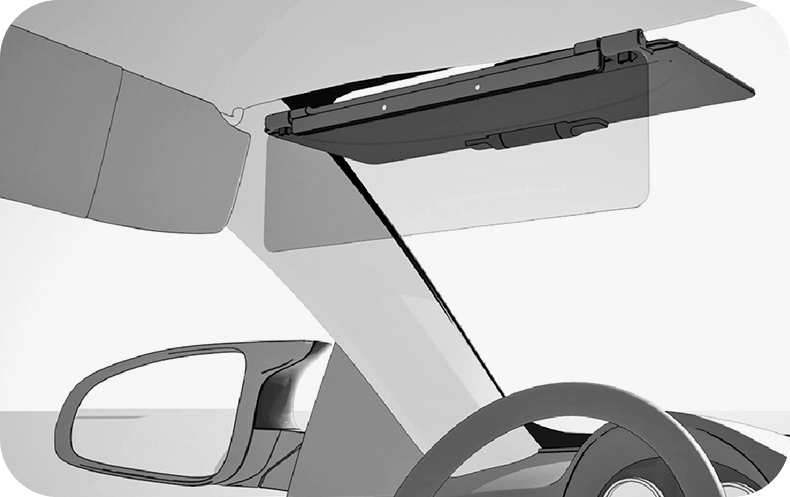
3. Pull the visor down for low sun
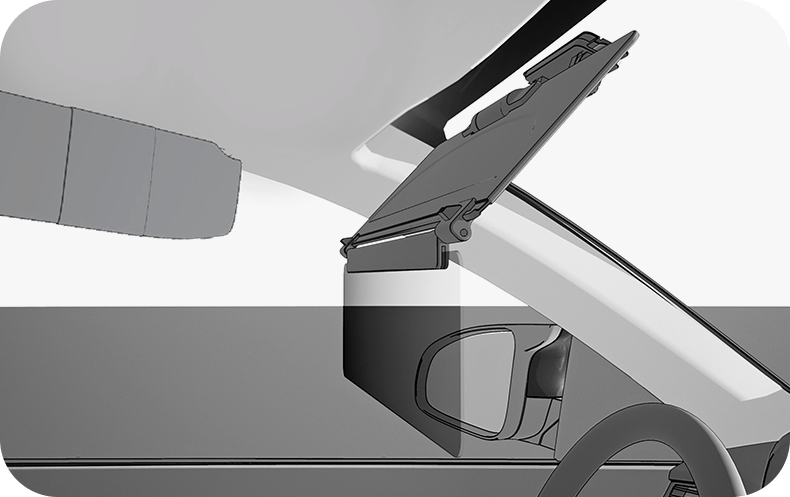
Positions most like the car visor
1. ADDVISOR facing this way

2. Twist both cam locks open
3. Slide onto rail
4. Twist both cam locks closed
5. Stowed position
The ADDVISOR should be stowed when the vehicle is parked.
1. Fold to visor position

2. Hinge fold detail (see previous image)

3. Move car visor to the side for 2DSP

The unique 'Dual-Hinge' let's you put The ADDVISOR high, low, or virtually anywhere in between. You keep the road in view but the sun glare out for a better drive!

1. Install both right and left wings

2. Make sure: The ADDVISOR rectangle indent faces you

3. Insert one corner of the Wing first

4. Rotate the Wing down until is firmly seated

5. Repeat Steps 1 through 4 on the left side.